Introduction
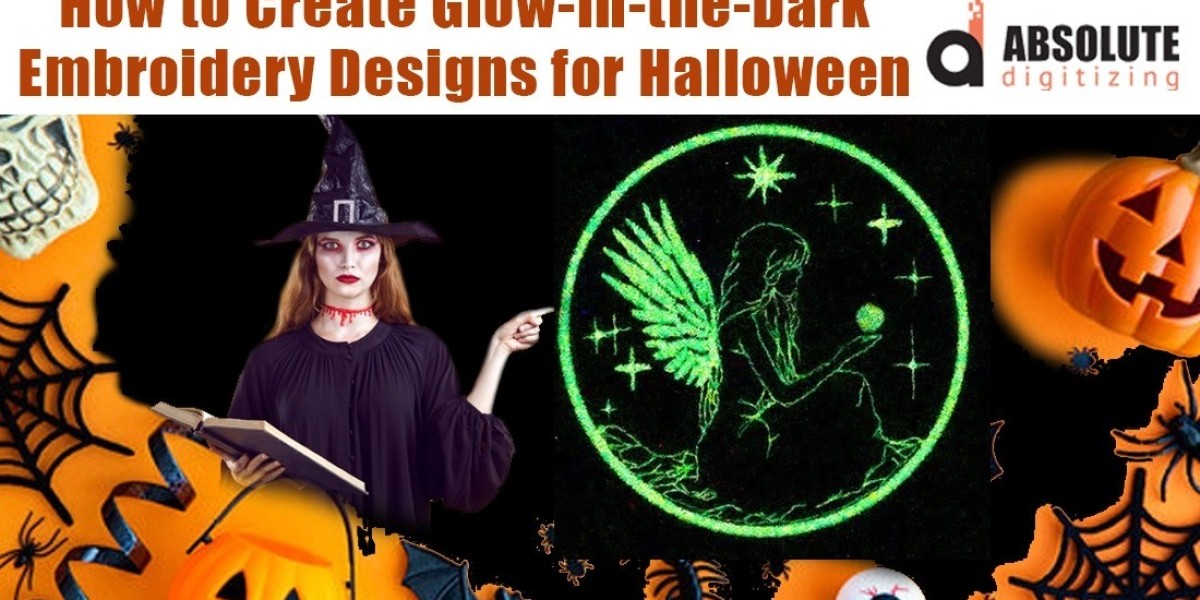
Imagine your logo lighting up a dark room or a custom design glowing on a Halloween costume long after the lights go out. Glow in the dark embroidery takes your projects to a whole new level, creating designs that sparkle in low light and add that wow factor everyone craves. Whether you're crafting event swag, team uniforms, or personal accessories, this technique makes your stitches stand out when it matters most. The secret lies in specialized threads and precise digitizing that ensures the glow effect works perfectly without compromising quality. This guide walks you through everything you need to know about glow in the dark embroidery digitizing, from choosing threads to optimizing files for maximum luminescence. Let's explore how glow in the dark embroidery digitizing turns ordinary designs into magical creations that captivate in any lighting.
These glowing designs work by charging phosphorescent threads with light, then releasing that energy as a soft, eerie glow in darkness. With the right approach, you create embroidery that functions beautifully in daylight while delivering stunning nighttime effects.
What Makes Glow in the Dark Embroidery Special?
Glow in the dark embroidery uses phosphorescent threads that absorb light energy during the day and emit it slowly at night. This creates a soft, neon-like glow that lasts 2-8 hours depending on the thread quality and exposure. Unlike regular threads, these specialty yarns contain rare earth elements that store and release light, making your designs visible in complete darkness.
The effect works best on dark fabrics—black, navy, or deep gray—where the contrast pops dramatically. Businesses love it for nightclub uniforms, safety gear, or promotional items that grab attention after hours. Crafters use it for costumes, pet collars, or kids' jackets that light up bedtime adventures. The versatility makes it perfect for seasonal items, safety apparel, or anything meant to turn heads in low light.
What sets it apart? The glow creates texture and depth that regular embroidery can't match. Your logo doesn't just sit there—it comes alive, drawing eyes and sparking conversations wherever it appears.
Choosing the Right Glow Threads
Not all glow threads perform equally, so pick wisely. High-quality options from brands like Madeira, Isacord, or Sulky contain stronger phosphors for brighter, longer-lasting glows. Look for threads rated at 6-10 hours of luminescence—they charge faster and shine more intensely.
Thickness matters too. 40-weight polyester works best for most machines, balancing glow strength with smooth stitching. Thicker threads (30-weight) create bolder effects but may require density adjustments to avoid bulk. Test samples first—expose them to bright light for 10-15 minutes, then check glow duration in a dark room.
Pair glow threads strategically. Use them for outlines, accents, or small fills where maximum impact occurs with minimal thread use. Combine with regular threads for backgrounds—full glow fills get expensive and heavy quickly. Pro tip: white or light-colored glow threads charge better and glow brighter than darker shades.
Digitizing Techniques for Maximum Glow
Glow in the dark embroidery digitizing demands precision to showcase the effect. Start with clean, high-contrast artwork—bold shapes and thick lines work better than fine details. Limit colors to 3-5, focusing glow threads on key elements like logos, text, or borders.
Use satin stitches for outlines—they create smooth, reflective surfaces that capture and hold light better than fills. Set satin width to 3-5mm for optimal glow exposure. For larger areas, choose running or zigzag stitches over dense tatami fills—open stitch patterns let light penetrate deeper into the threads.
Density plays a huge role. Keep it lighter than standard designs (0.3-0.4 lines per mm) to prevent thread buildup that blocks light absorption. Add underlay sparingly—too much base stitching hides the glow effect. Optimize sewing order so glow elements stitch last, sitting on top for maximum visibility.
Step-by-Step Digitizing Process
Begin with your artwork in digitizing software like Brother PE-Design or Embrilliance. Import a high-res JPG or vector, then simplify to bold shapes. Trace outlines using the manual digitizing tool—avoid auto-trace for cleaner control over glow areas.
Assign satin stitches to borders and text, setting width to 4mm and density to 0.35. For accent fills, use loose tatami or running stitches at 0.3 density. Designate glow thread colors using your software's thread chart—most include glow options from major brands.
Set sewing order carefully: regular threads first, glow elements last. Add minimal underlay (just tack-down lines) to glow sections. Run a stitch simulation to check for overlaps—adjust paths to ensure even light exposure across glowing areas.
Export in your machine's format (PES, DST, JEF) with color assignments clearly marked. Test on scrap fabric, charging under bright light for 15 minutes before darkroom evaluation. Tweak density or stitch type based on results, then finalize your file.
Machine Settings for Perfect Glow Results
Your embroidery machine needs specific tweaks for glow threads. Reduce speed to 600-700 SPM—faster rates cause thread breakage and uneven stitches. Loosen tension slightly (1-2 clicks) since glow threads are slightly thicker and less flexible than standard polyester.
Use quality glow bobbins if available, or match top thread color in the bobbin to avoid show-through. Hoop tightly—glow designs show puckering more dramatically due to light reflection. Stabilize dark fabrics with cut-away backing for durability.
Clean your machine thoroughly before runs—lint buildup dulls the glow effect. After stitching, expose the design to sunlight or LED lights for 10-20 minutes to fully charge before first use. This maximizes initial impression.
Design Ideas That Shine
Glow outlines around regular embroidery create halo effects—perfect for logos, monograms, or sports designs. Use glowing text for names, slogans, or addresses that remain readable at night. Safety applications like reflective path markers or pet ID tags benefit from the dual visibility.
Halloween costumes glow with jack-o-lantern faces, ghosts, or spiderwebs. Corporate giveaways like keychains or pens with glowing logos make memorable tradeshow swag. Kids' gear—backpacks, shoes, jackets—gets functional flair with glowing arrows or names.
Mix techniques for impact: glow satin borders around applique patches or 3D puff fills. Layer multiple glow colors for rainbow effects on black fabric. Keep designs under 4x4 inches for brightest results—larger areas dilute the effect.
Tips for Long-Lasting Glow Performance
Wash glow embroidery gently—cold water, mesh bags, and air drying preserve phosphors better than hot cycles or dryers. Avoid bleach or fabric softeners—they degrade the glow compounds over time.
Recharge designs regularly with natural or artificial light. Sunlight works fastest, but office fluorescents or phone flashlights suffice for quick boosts. Store items in light rather than dark drawers to maintain readiness.
Test thread brands across machines—some glow formulas run smoother on Brother than Tajima. Buy in bulk once you find winners—consistent thread ensures uniform glow across production runs.
Common Mistakes and Fixes
Dense fills kill glow—light can't penetrate thick thread stacks. Stick to open patterns or outlines for best results.
Skipping charge time disappoints customers. Instruct users to expose designs to light for 15+ minutes before expecting full glow.
Wrong fabric choice dulls effects. Dark, smooth surfaces like twill or fleece outperform light or textured materials.
Ignoring sewing order buries glow threads. Always stitch them last for surface visibility.
Conclusion
Glow in the dark embroidery digitizing transforms ordinary designs into magical creations that captivate day and night. With the right threads, digitizing techniques, and machine settings, you create embroidery that charges with light and delivers stunning glow effects. Perfect for businesses, crafters, and safety applications, these designs add unique value that regular stitching can't match. Whether outlining logos, crafting costumes, or enhancing safety gear, glow embroidery makes every stitch memorable. Grab your artwork, choose quality glow threads, and start digitizing—your next project will light up the night!
